
System Requirements
To get the most out of the Ecommerce Watch Store Pro theme, we recommend that your web server have the following minimal system settings.
- WordPress 6.4 or Above
- PHP 7.4 and Above
- MySQL 5.6 (or greater) | MariaDB 10.0 (or greater)
- Need php ini file configration -
- post_max_size = 256M
- upload_max_filesize = 256M
- max_execution_time = 5000
- max_input_time = 5000
- memory_limit = 1000M
Introduction
Thank you for installing our WordPress Theme. The complete procedure to configure and manage a WordPress Website from the beginning is shown in this documentation in different portions.
What is Gutenberg?
Its something many people often gloss over, but Gutenberg is not just a new editor for WordPress. It’s the start of something much bigger. Gutenberg lays the groundwork for incredibly exciting developments. Gutenberg is stage one of a three-pronged roll-out strategy. First, WordPress will get a redeveloped block editor, after that the project will focus on page templates and in the final stage WordPress will become a full site customizer. You can imagine, this gives us endless possibilities and it is a necessary step to keep WordPress the #1 CMS for years to come.
Help and Support
File Structure
The template package you have downloaded consists of several folders. Let's see what each folder contains:
-
Screenshots
-contains template screenshot. Not for production.
- theme -contains wordpress theme files.
- "vw-ibtana.zip" -this folder contains all the necessary files for the theme.
- "license.txt" -contains license details.
- "readme.txt" -contain information about theme images path, font use and usage script.
Plugin Installation
Plugin installation is very easy process.
All installation steps can be done within WordPress interface. It makes process comfortable and fast.
The installation process can be done in two ways.
1-Install a plugin using wordpress admin.
First thing you need to do is to login to your WordPress admin area. Next, click on.
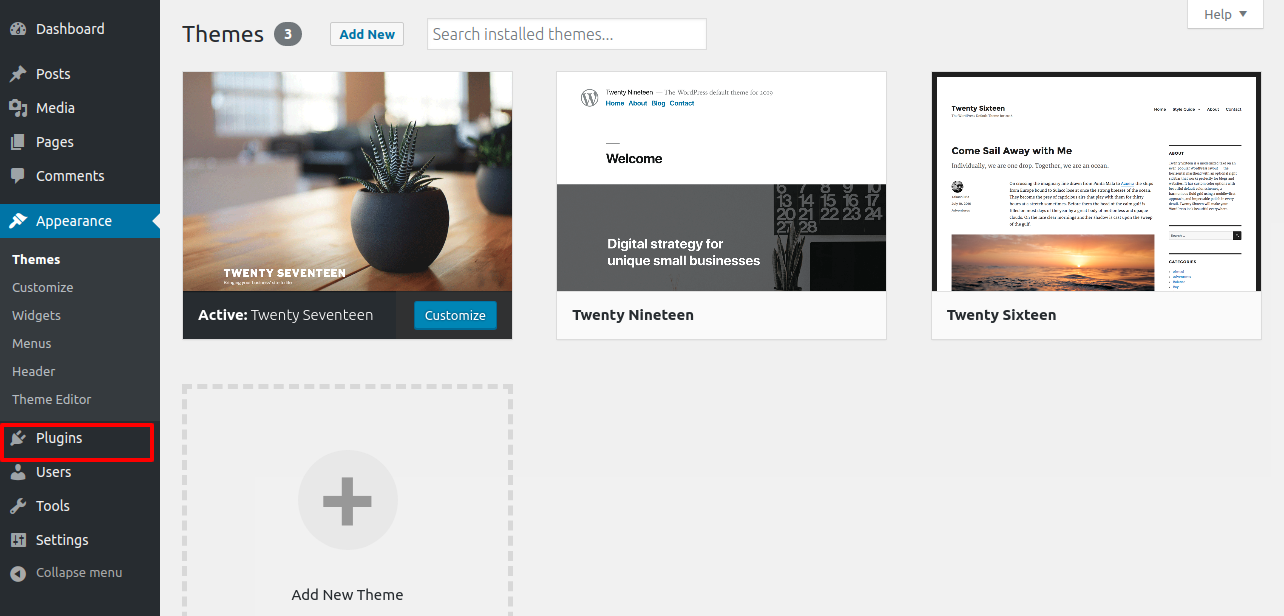
1. Go to the Dashboard >> Plugins.
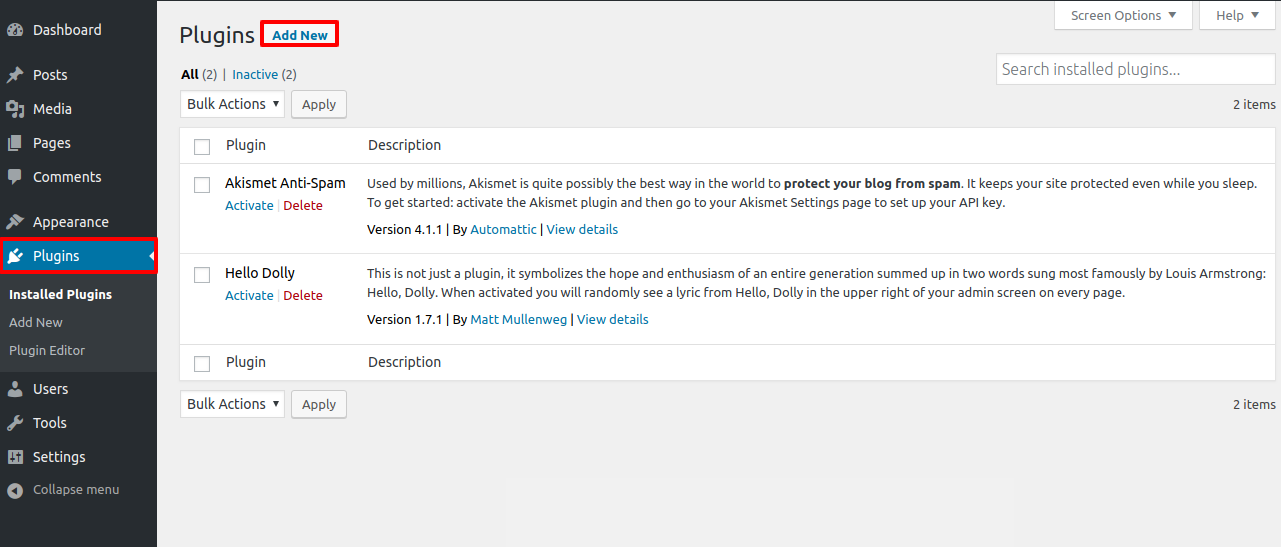
2. Once you are on the plugins page, click on the Add New button at the top.
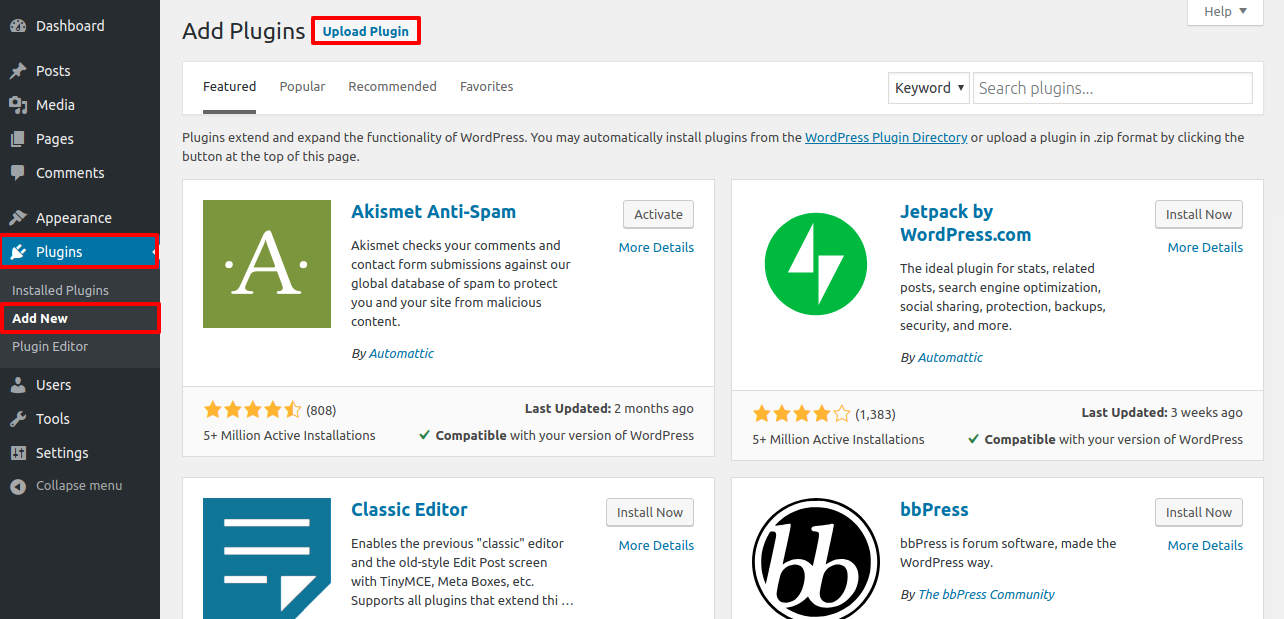
3. Click on Upload Plugin button.
4. Click on Browse Button then select your vw-ibtana.zip theme and click on install now button.
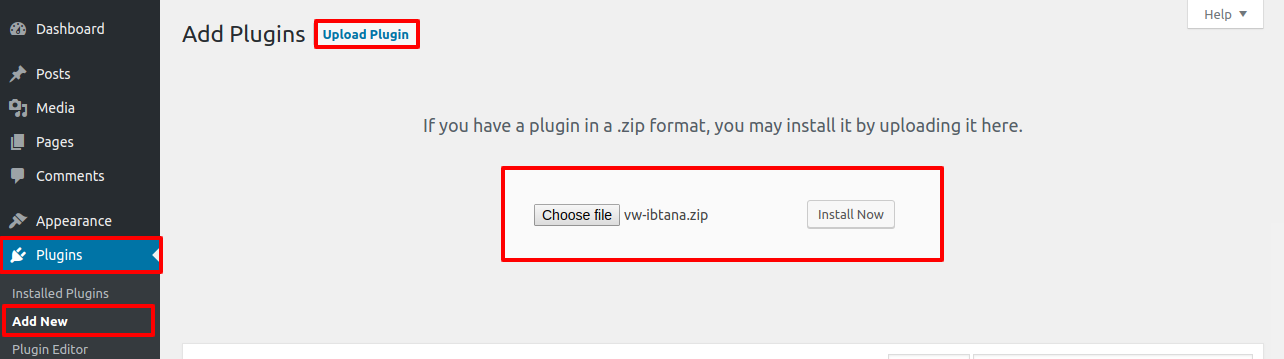
Congratulations!! Your plugin have been successfully installed.
2-Install a Plugin using FTP
Your second installation option is to upload the plugin via FTP. For this method first log into your site via FTP and browse to your folder located at wp-content/plugins. Unzip the plugin file you downloaded and upload only the extracted Total folder to your server.
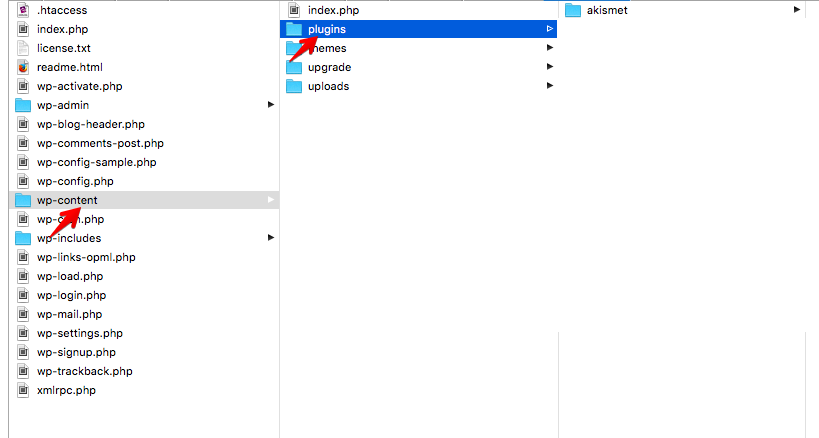
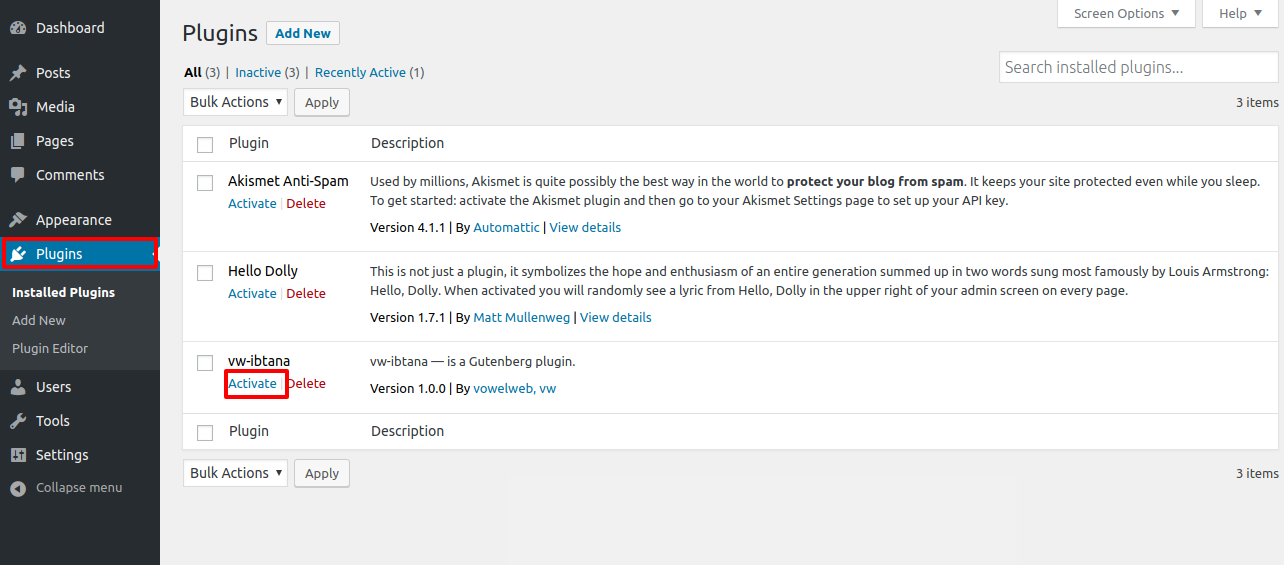
Next log into your WordPress site and navigate to Plugins to activate plugin.
Plugin Actication Process
Follow the below steps to activate plugin:-
2. Go to Dashboard >> VW Ibtana
Here add your registered email, order id and license key. As you will purchase the product, an email will be sent to you where you will get your license key.
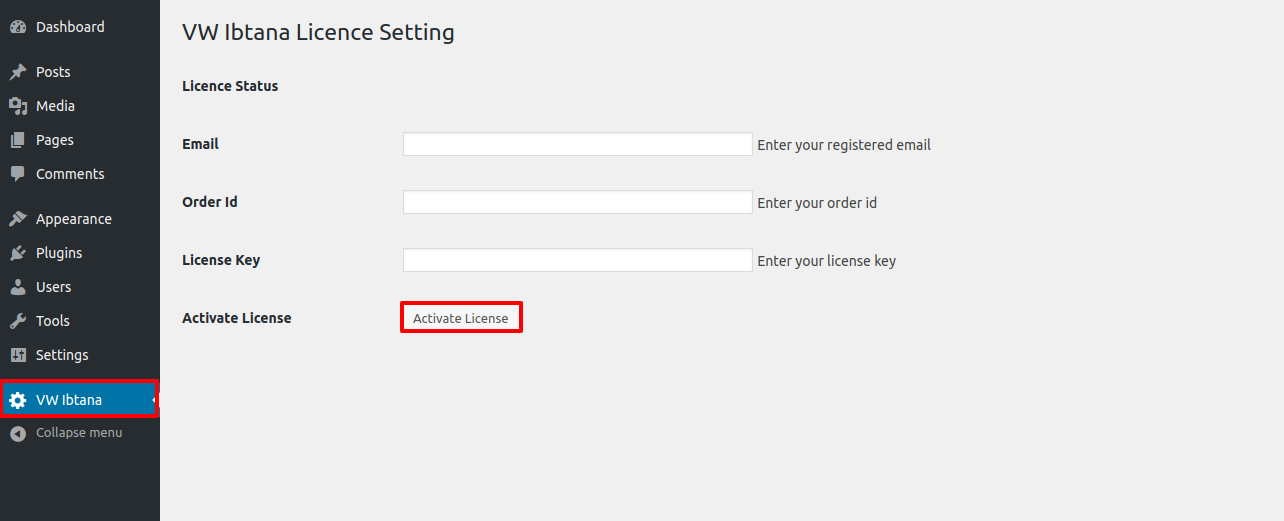
Once you have done that, to save the settings click on Acticate License and now you are good to go.
                            1. Add below given funtion to theme's funtion.php .
  function pro_setup() {
    add_theme_support( 'align-wide' );
  }
  add_action( 'after_setup_theme', 'pro_setup' );

                            2. Add below given css to theme's style.css .
  .alignfull {
    margin-left  : calc( -100vw / 2 + 100% / 2 );
    margin-right : calc( -100vw / 2 + 100% / 2 );
    max-width    : 100vw;
    width: 100vw;
  }
  .alignfull img {
    width: 100vw;
  }
Plugin Setup
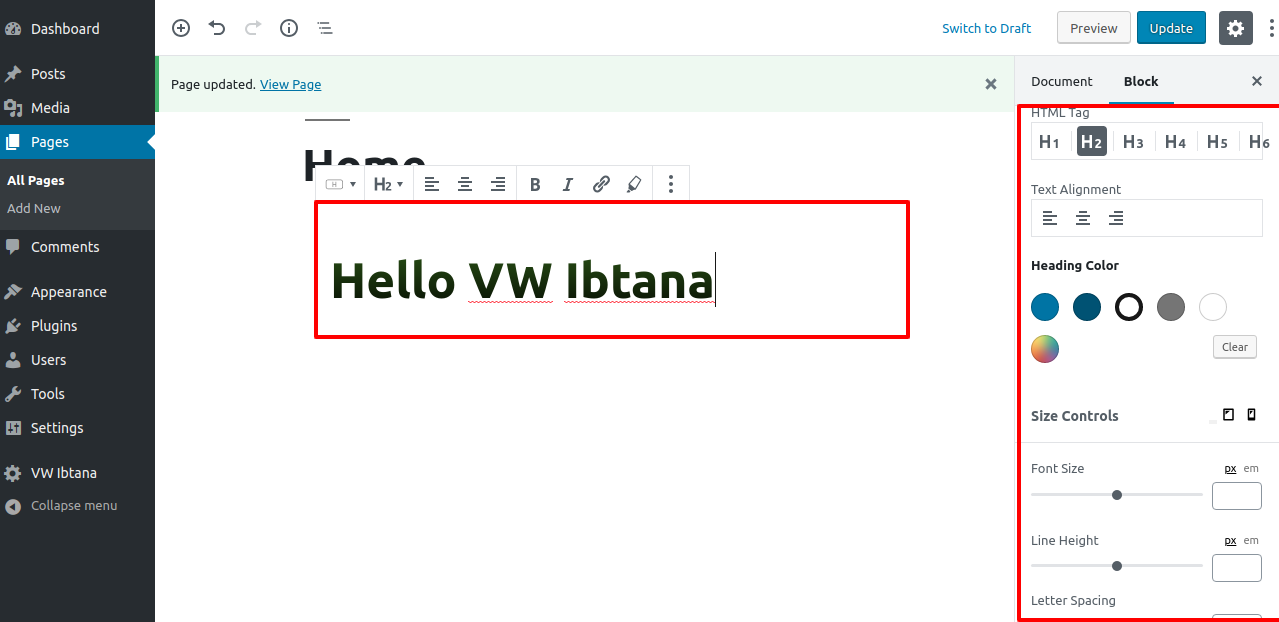
1. VW Heading
In order to add VW Heading, follow the below steps.
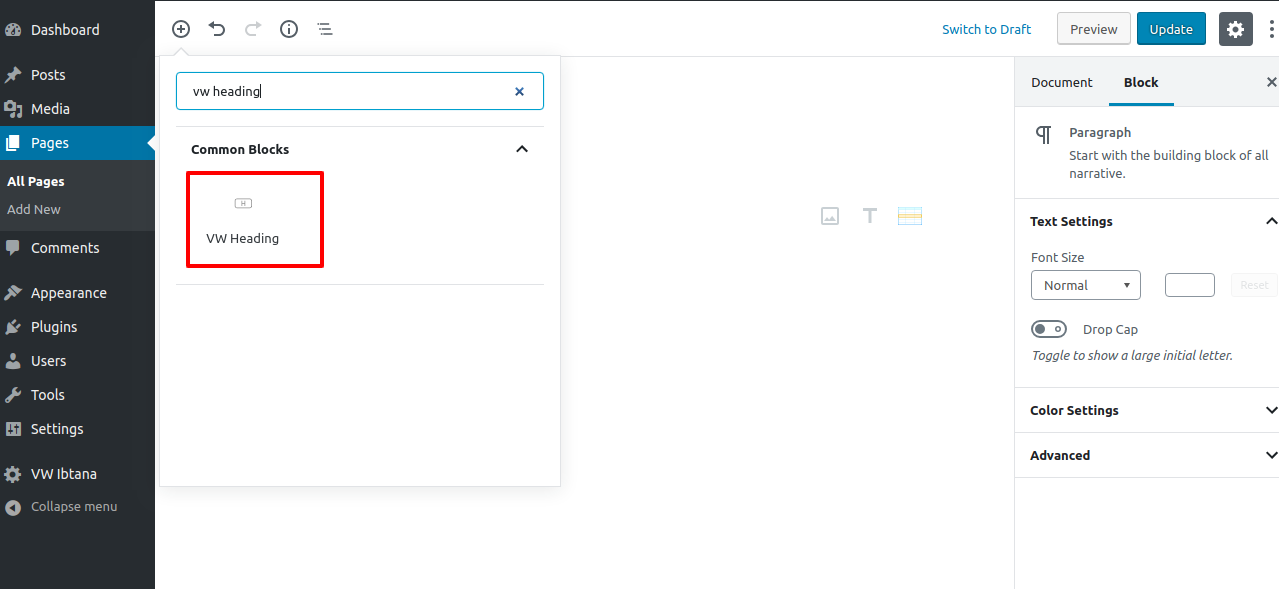
One can change Alignment , Color (There is option for gradient colors too). Also in size control we can change size, line-height and letter spacing of heading.
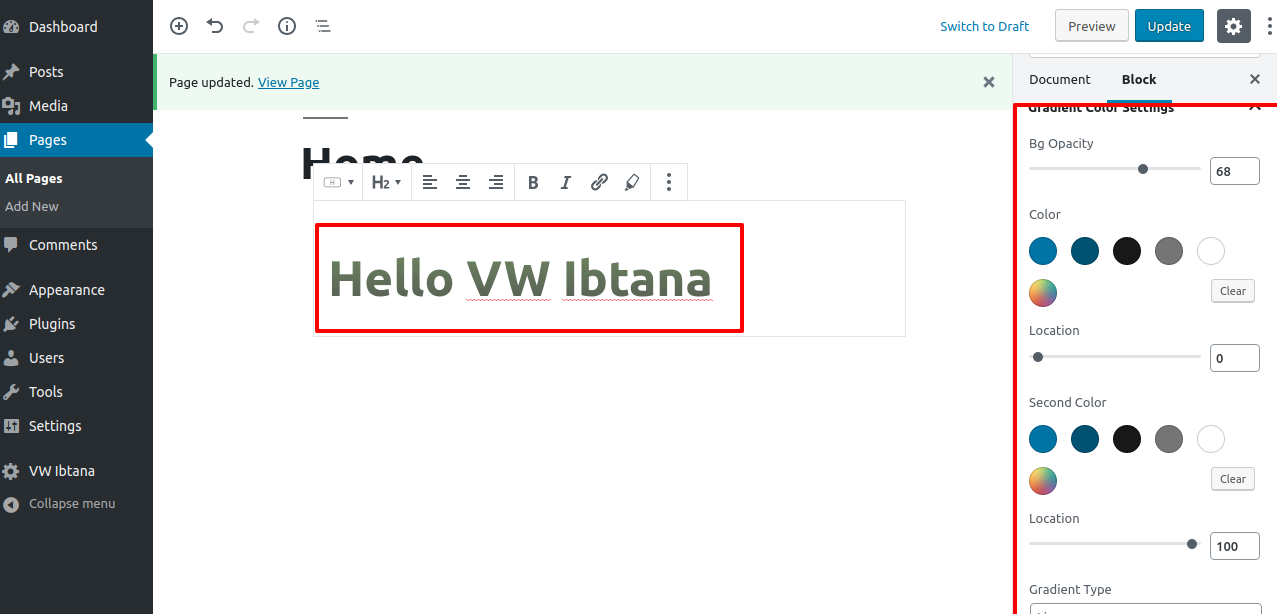
Check Below given screenshot for gradient color Settings. In which you will find opacity, color , location etc.
It will appear like this on the front end.

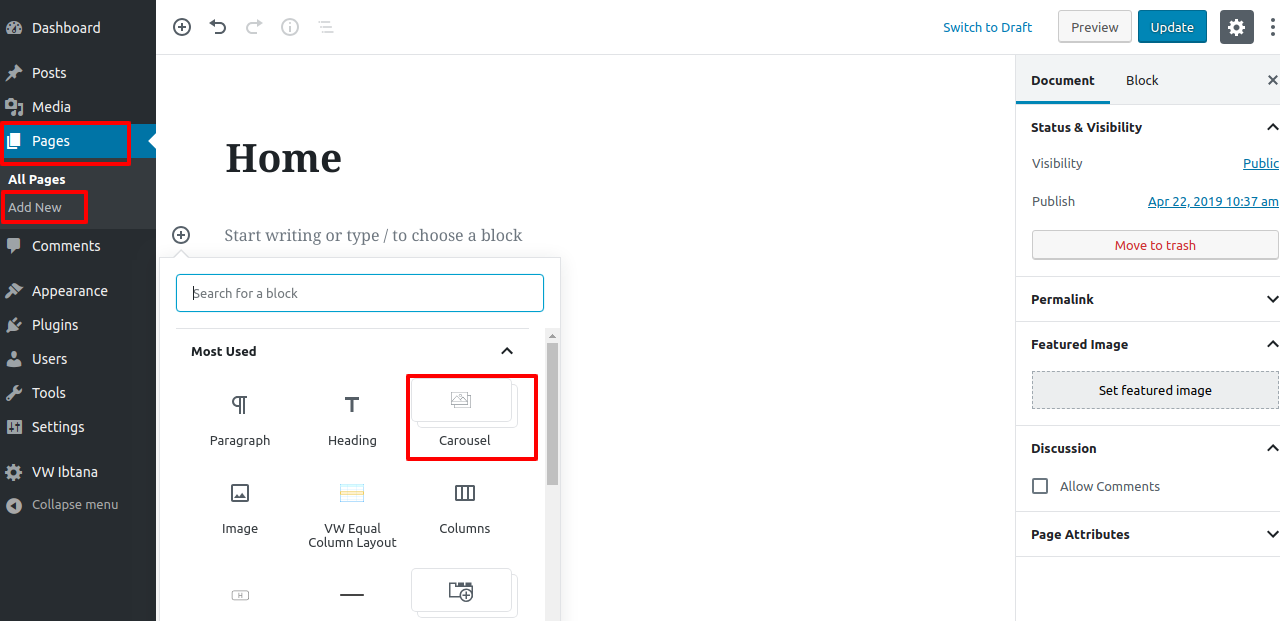
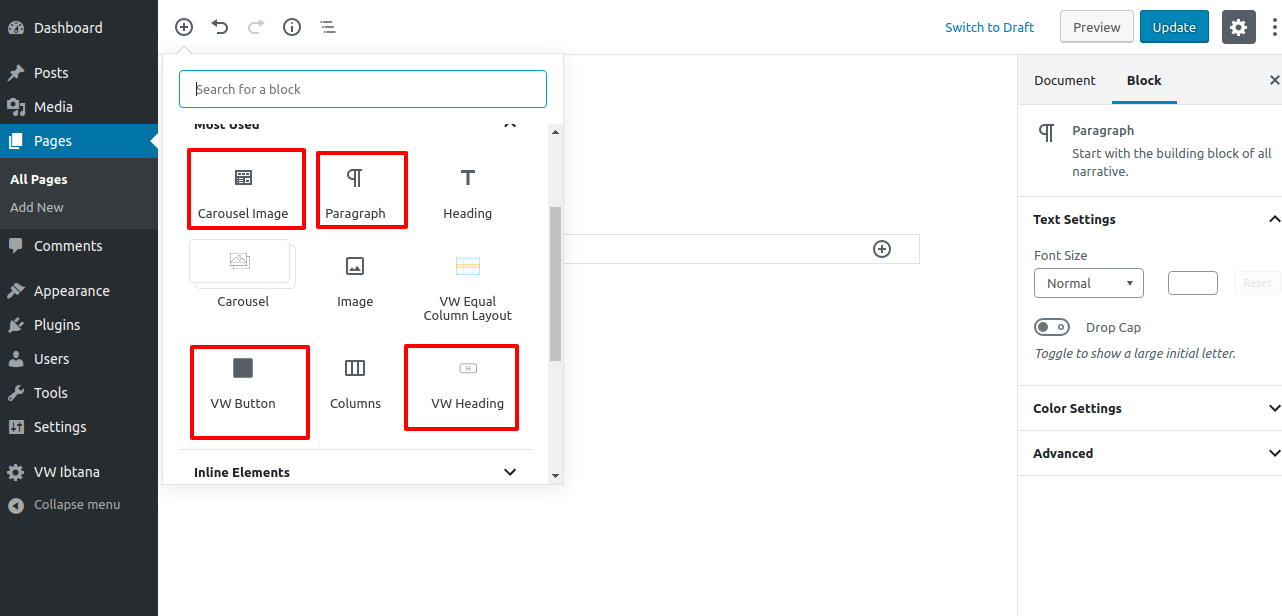
2. Setup Slider Section
In order to setup the Slider section, follow the below steps.
Go to Dashboard >> Pages >> Add New
Select Carousel for slider.
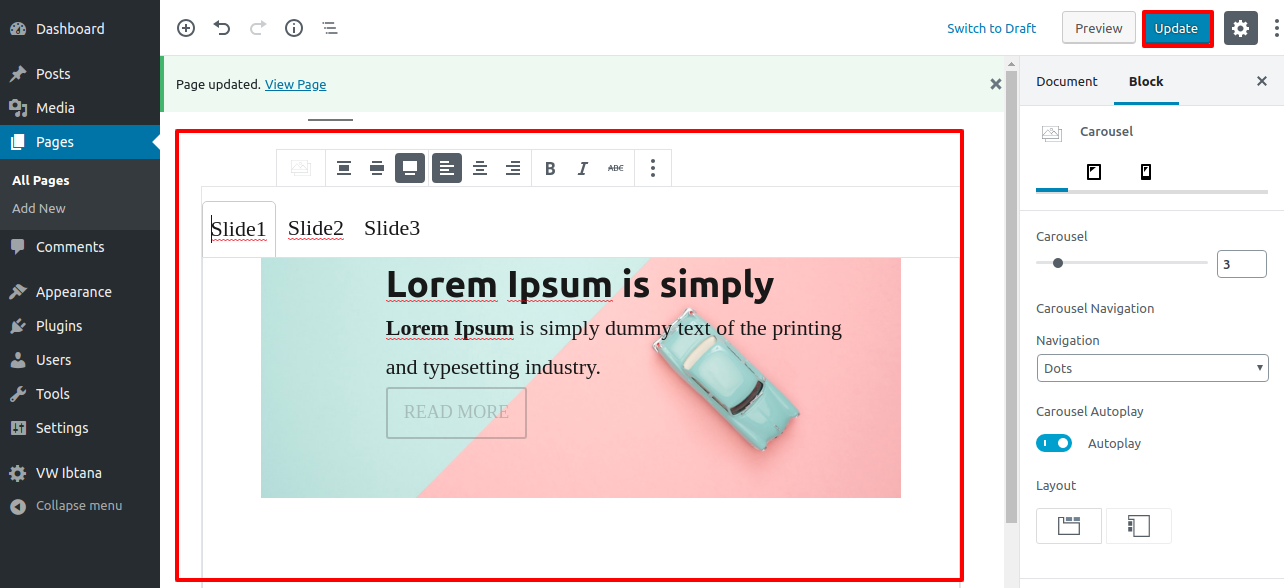
one can change number of slider to be shown by changing Carousel number also can change navigation from dots indicator to arrows option are given in dropdown of navigation.
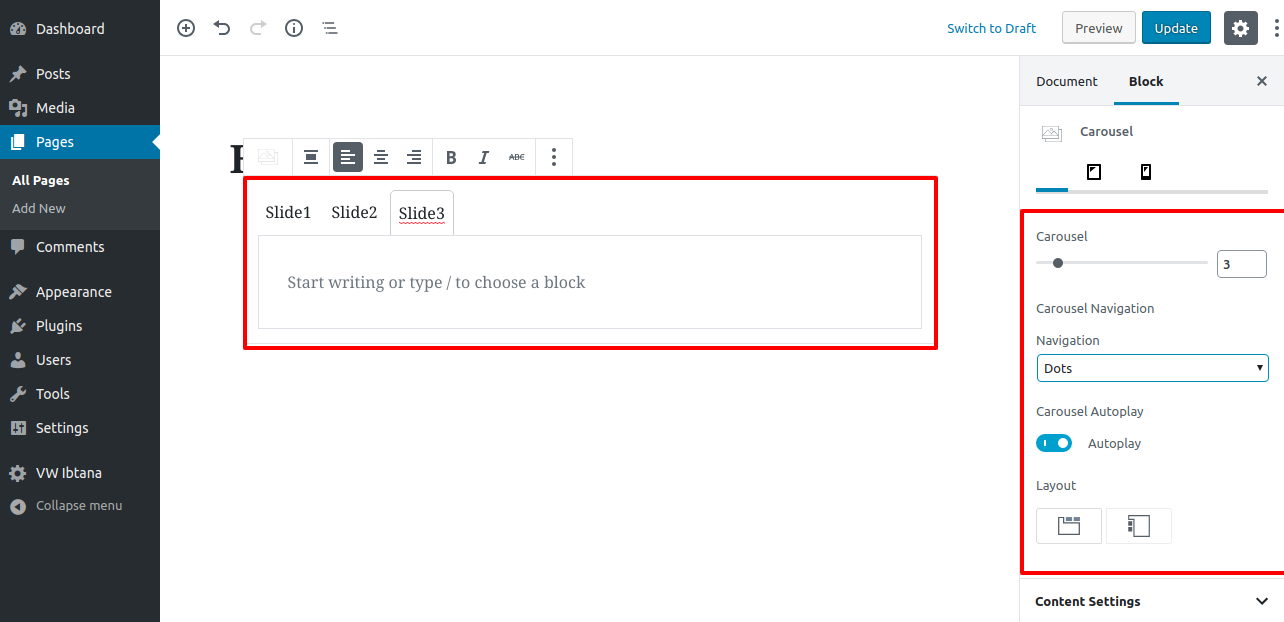
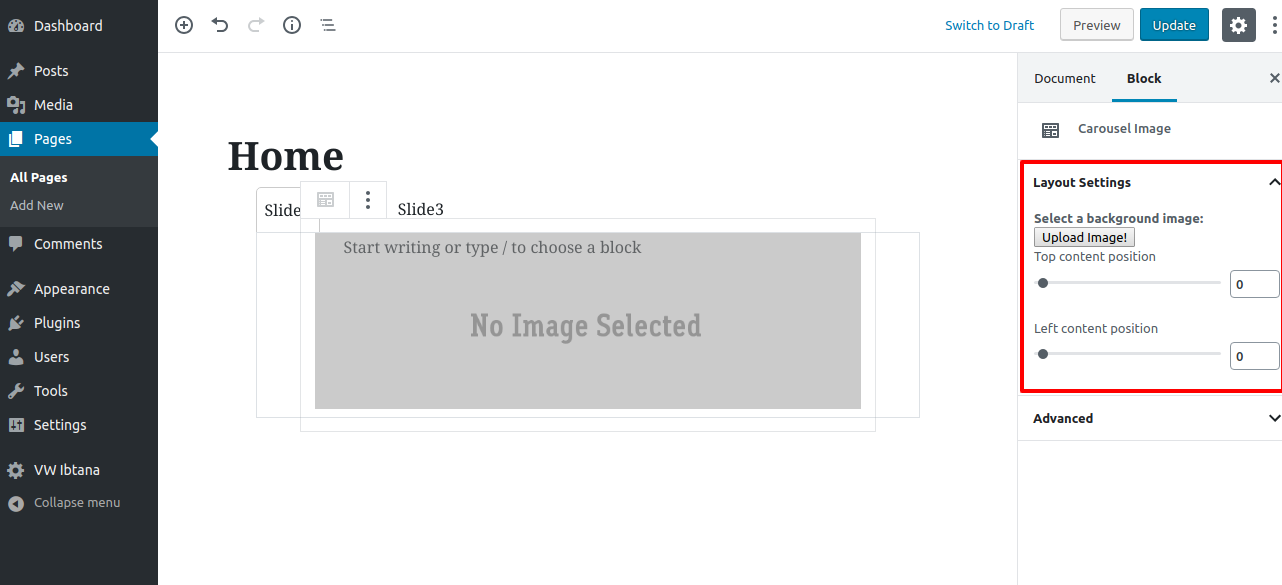
To setup a slider add Image using Carousel Image, then add heading, paragraph and button
Once you aaded carousel image click in the box and upload image you want to add for slider.
After adding image, heading, content button publish it.
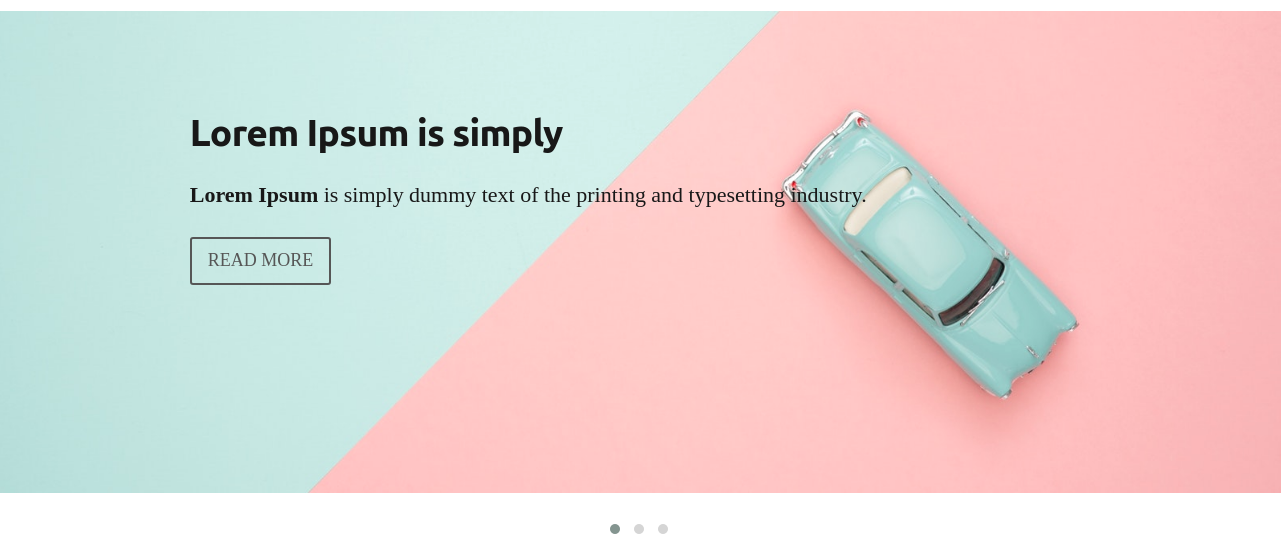
It will appear like this on the front end.
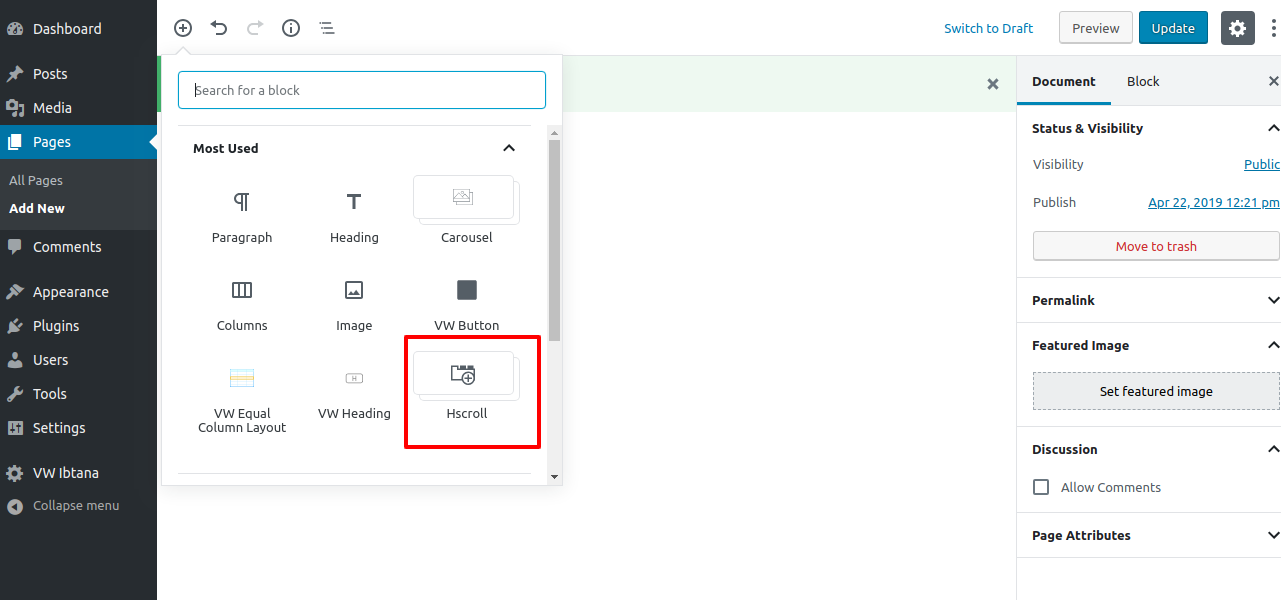
3. HScroll
Select Hscroll. One can use this for testimonial section
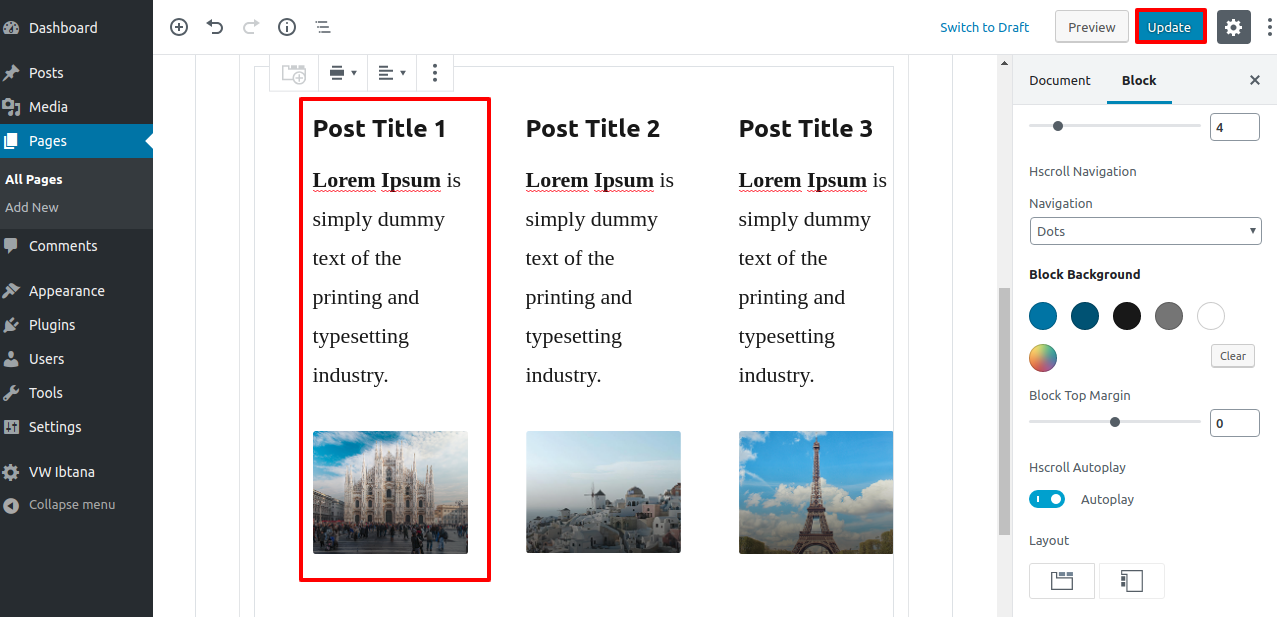
one can change number of post to shown. change number of post one want in hscroll also can change navigation from dots indicator to arrows option are given in dropdown of navigation.

After adding heading, content and image button publish it.
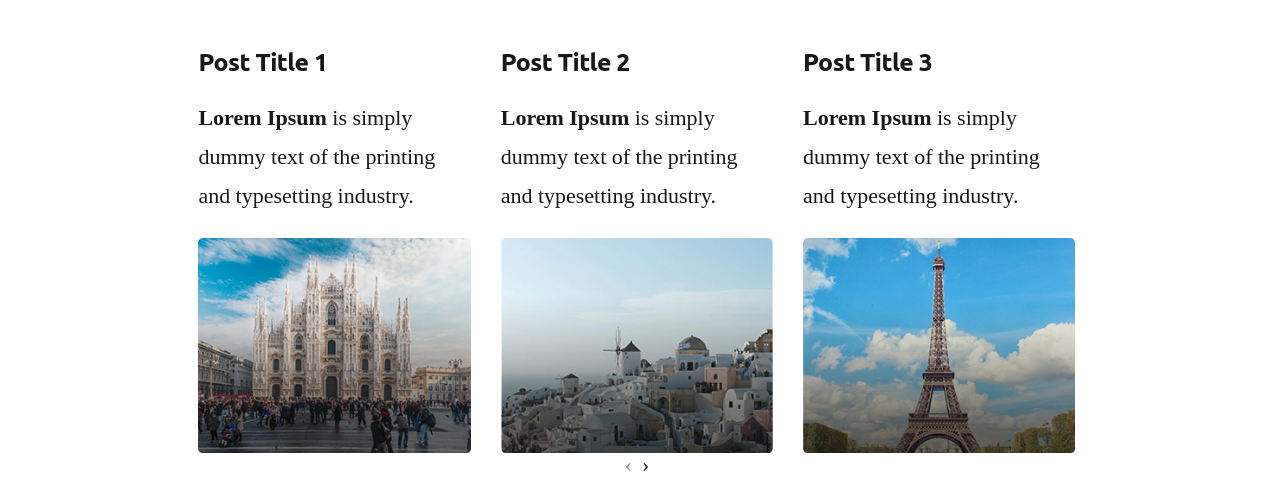
It will appear like this on the front end.
4. Add Icons
In order to add icons, follow the below steps.
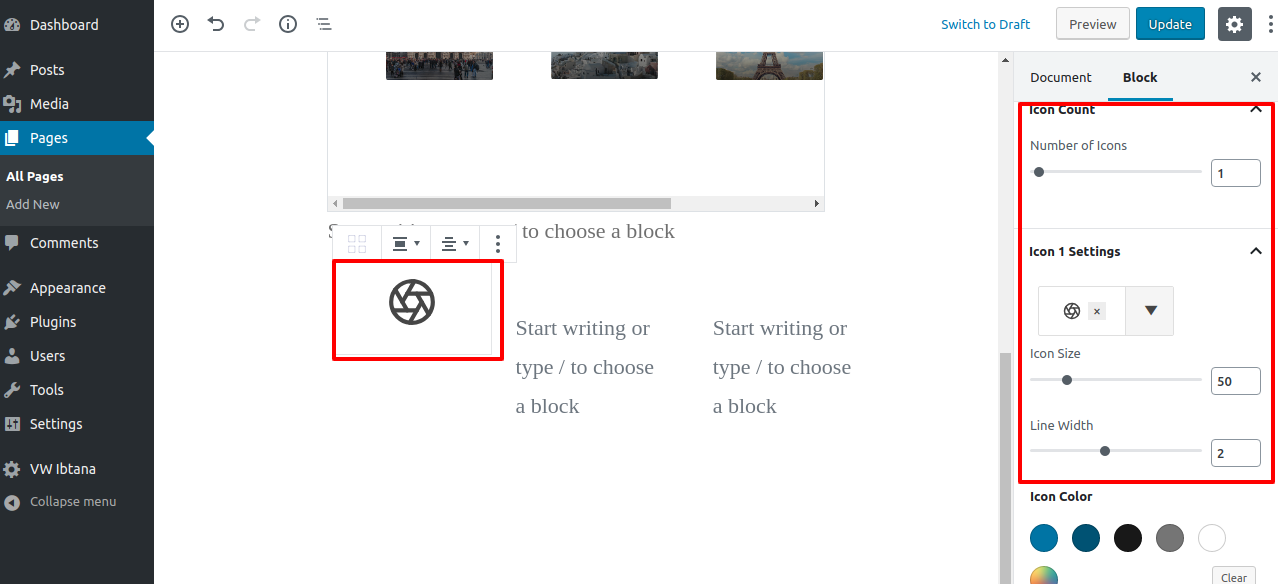
Select Icons. One can use this to add icons in post. In below example we are using VW equal Column Layout to make a complete layout.
one can change number of icons to shown in a single post one can show more than one icon. Also we can change size , line height, color of icon and style of icon. Multiple Icons are there in Icon 1 Settings.
After adding icon, heading and content publish it.

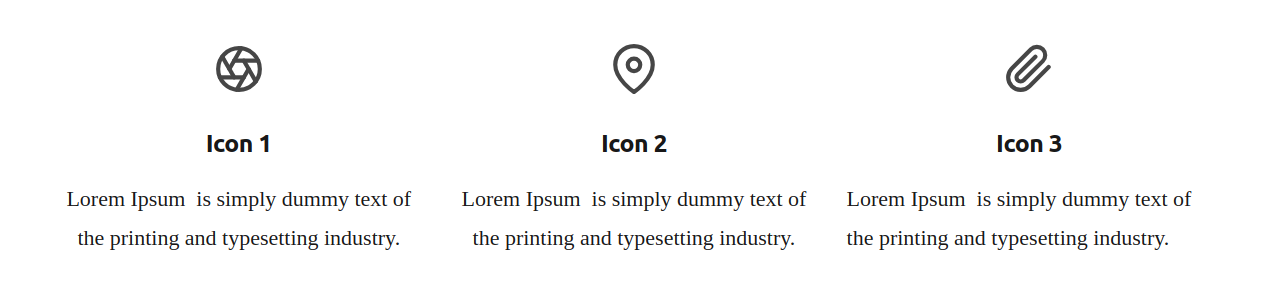
It will appear like this on the front end.
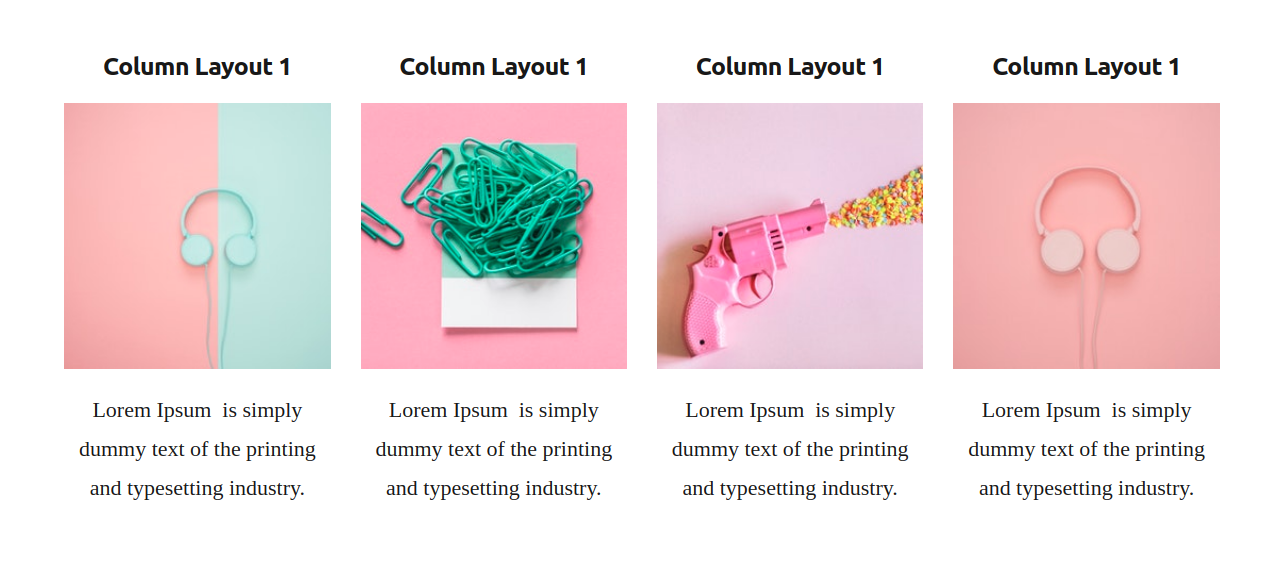
5. VW equal Column Layout
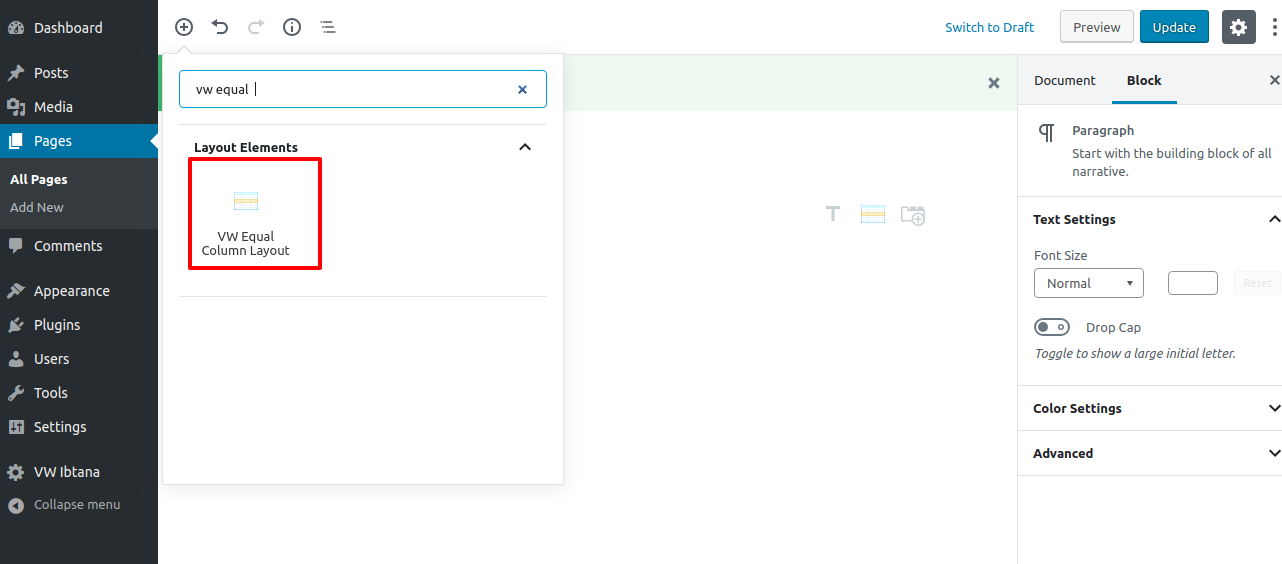
In order to add Column Layout, follow the below steps.
Select VW equal Column Layout. In below example we are using VW equal Column Layout for four columns there are diffrent options like one column, two columns, three columns, two columns, four columns and six columns to make a complete layout.
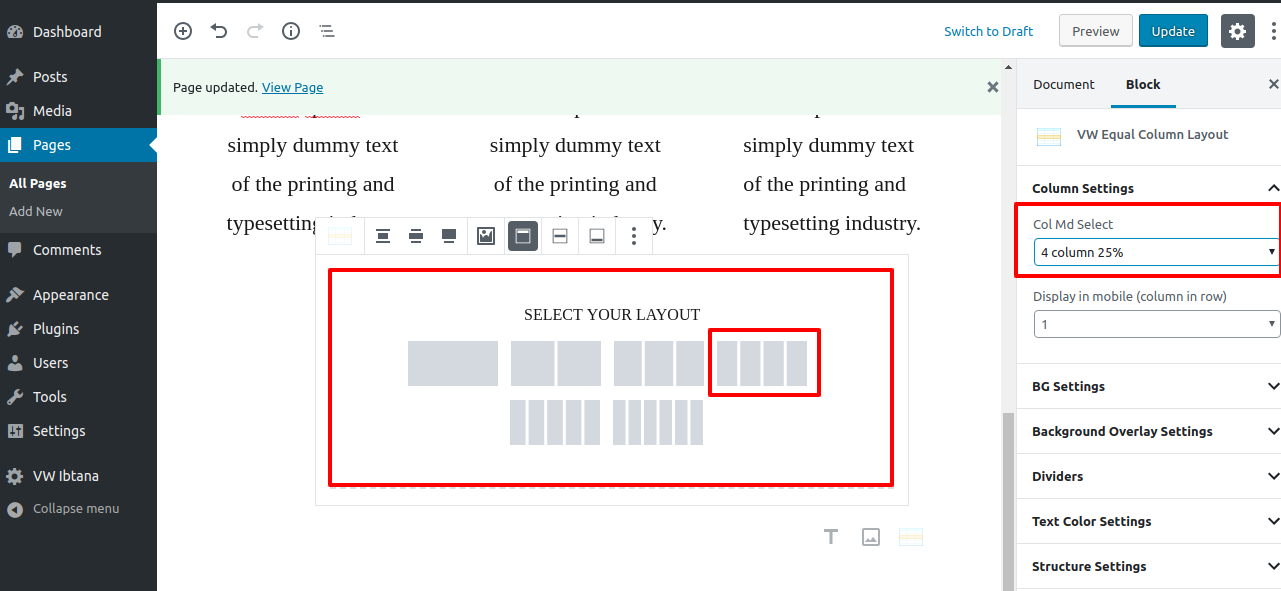
Firstly select number of column you want in column settings. After that select the layout for the same.
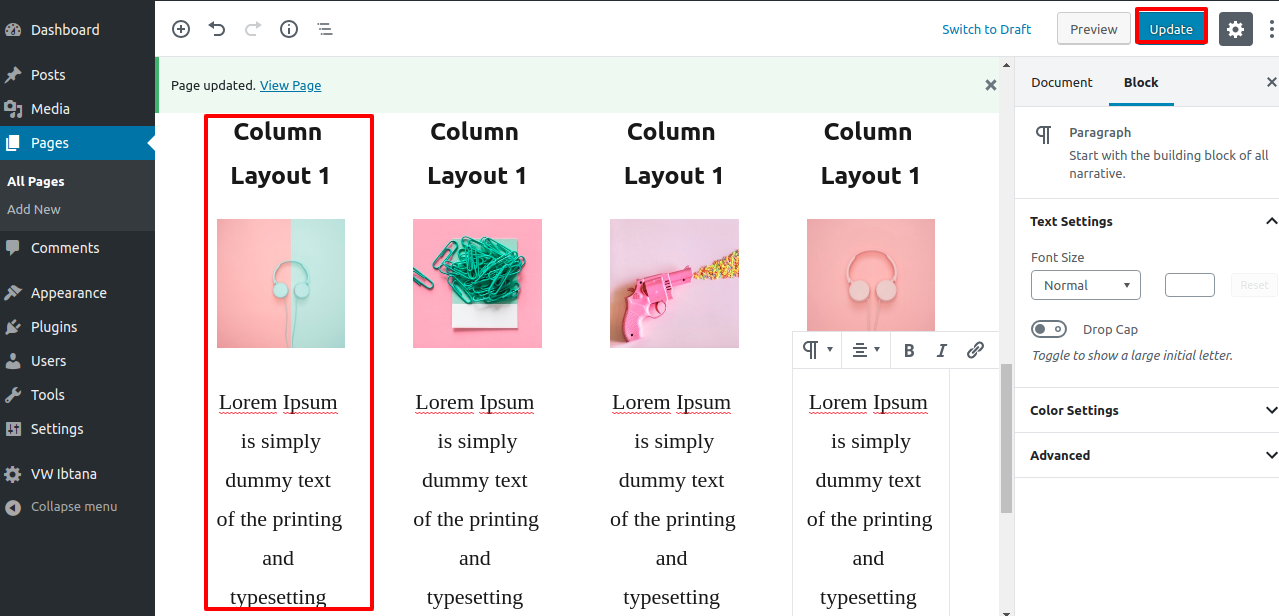
Add heading, image and paragraphy and publish it.
It will appear like this on the front end.
6. VW Separator
To use VW Separator , follow the below steps.
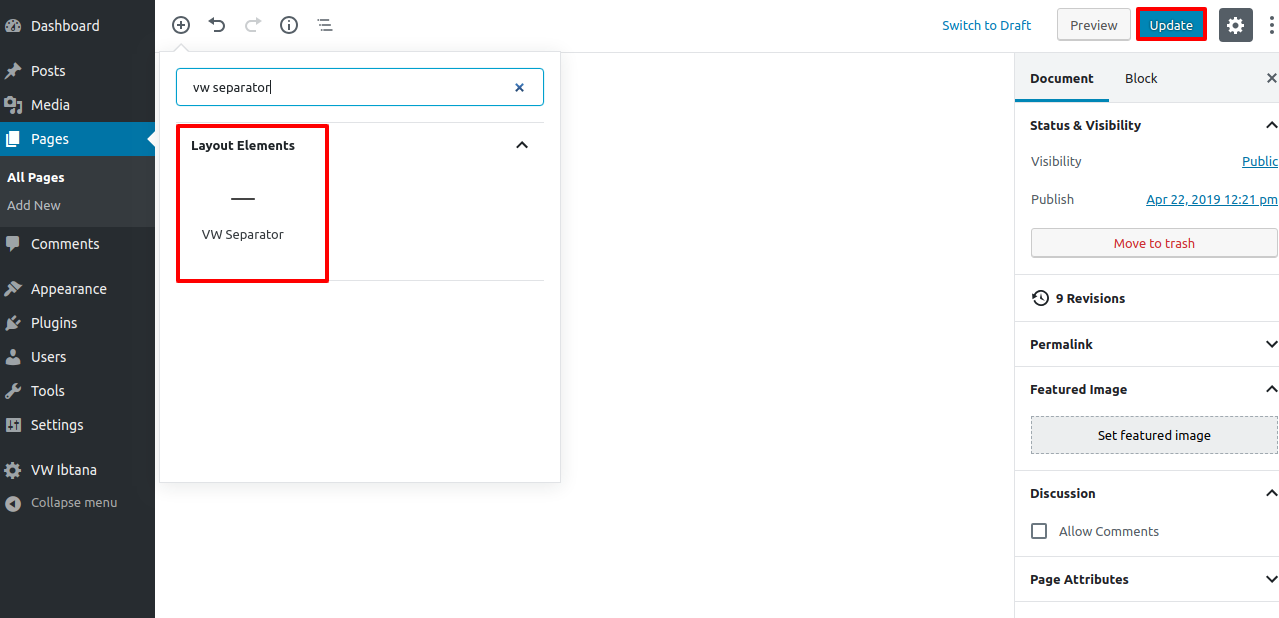
In below given example we are using separator with heading. One can do alignment, change height, change width and can change color of the separator. Also style of separator can be changed. Options are given in divider style dropdown.
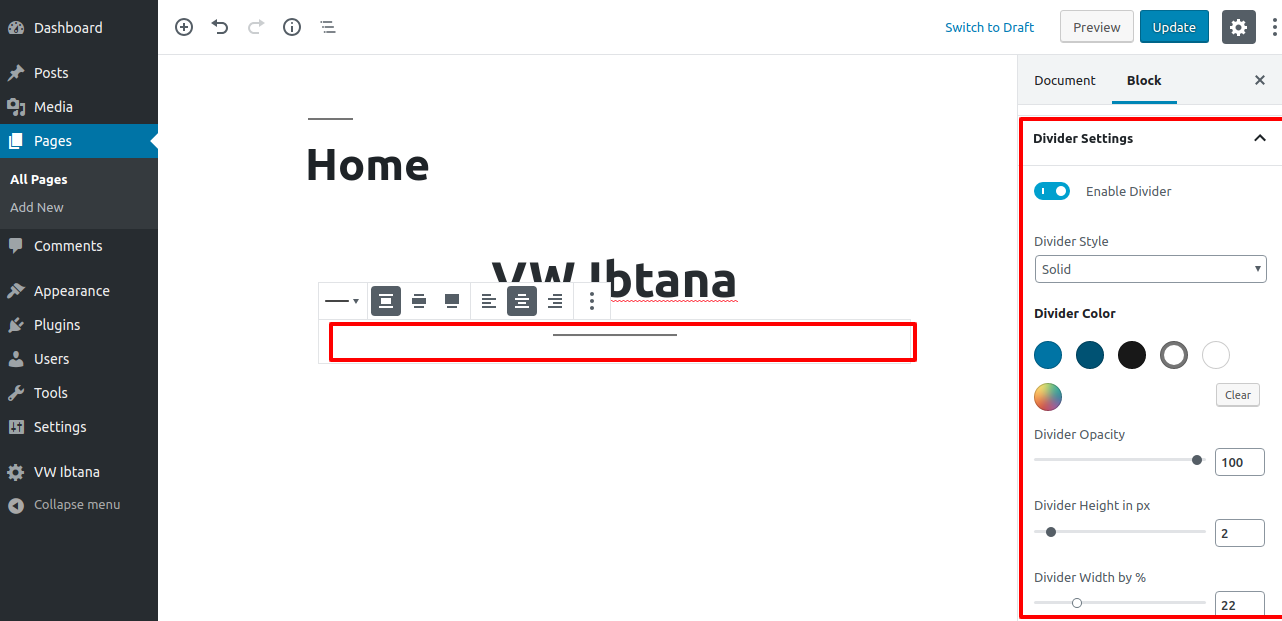
It will appear like this on the front end.
