System Requirements
To get the most out of the Ecommerce Watch Store Pro theme, we recommend that your web server have the following minimal system settings.
- WordPress 6.4 or Above
- PHP 7.4 and Above
- MySQL 5.6 (or greater) | MariaDB 10.0 (or greater)
- Need php ini file configration -
- post_max_size = 256M
- upload_max_filesize = 256M
- max_execution_time = 5000
- max_input_time = 5000
- memory_limit = 1000M
Introduction
Thank you for installing our WordPress Theme. The complete procedure to configure and manage a WordPress Website from the beginning is shown in this documentation in different portions.
What is Gutenberg?
It’s something many people often gloss over, but Gutenberg is not just a new editor for WordPress. It’s the start of something much bigger. Gutenberg lays the groundwork for incredibly exciting developments. Gutenberg is stage one of a three-pronged roll-out strategy. First, WordPress will get a redeveloped block editor, after that the project will focus on page templates and in the final stage WordPress will become a full site customizer. You can imagine, this gives us endless possibilities and it is a necessary step to keep WordPress the #1 CMS for years to come.
Help and Support
File Structure
The template package you have downloaded consists of several folders. Let's see what each folder contains:
-
Screenshots
-contains template screenshot. Not for production.
- theme -contains wordpress theme files.
- "ibtana-ecommerce-product-addons.zip" -this folder contains all the necessary files for the theme.
- "license.txt" -contains license details.
- "readme.txt" -contain information about theme images path, font use and usage script.
Plugin Installation
Plugin installation is very easy process.
All installation steps can be done within WordPress interface. It makes process comfortable and fast.
The installation process can be done in two ways.
1-Install a plugin using wordpress admin.
First thing you need to do is to login to your WordPress admin area. Next, click on.
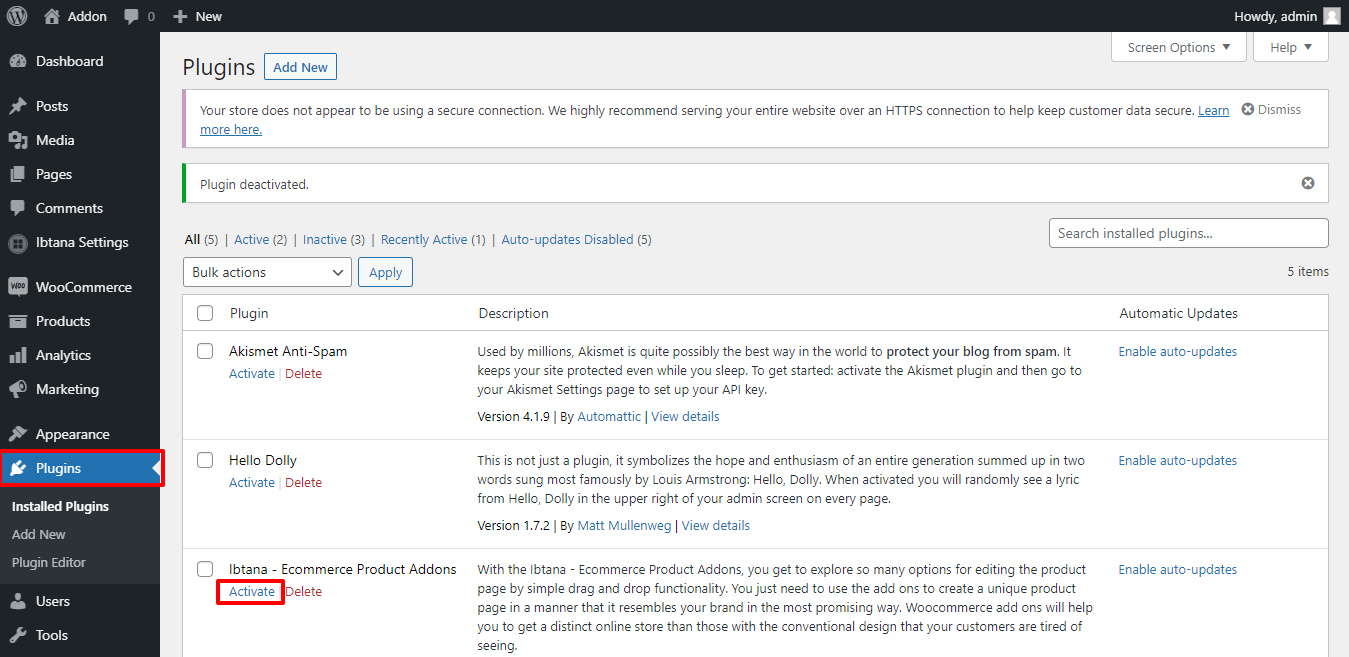
1. Go to the Dashboard >> Plugins.

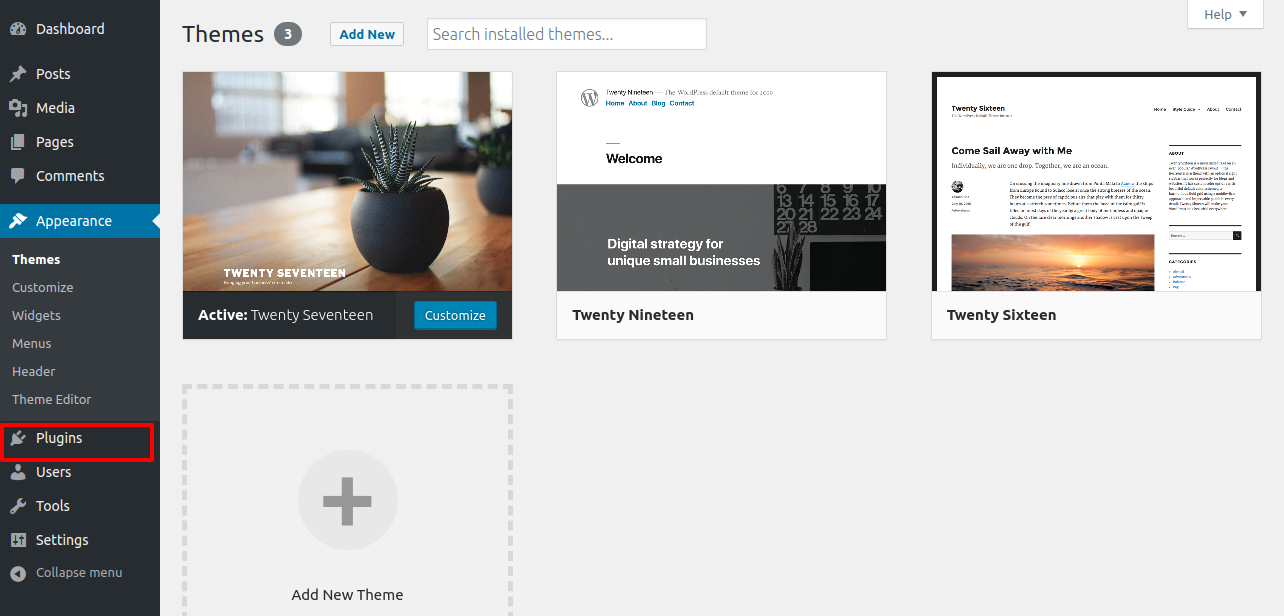
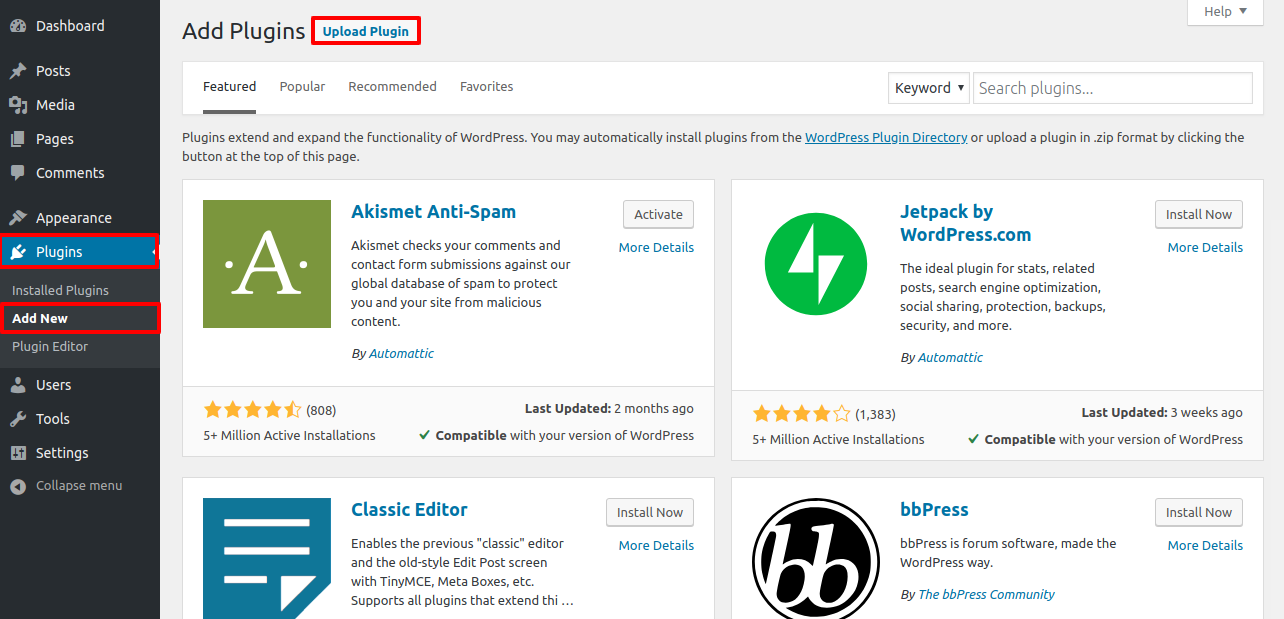
2. Once you are on the plugins page, click on the Add New button at the top.

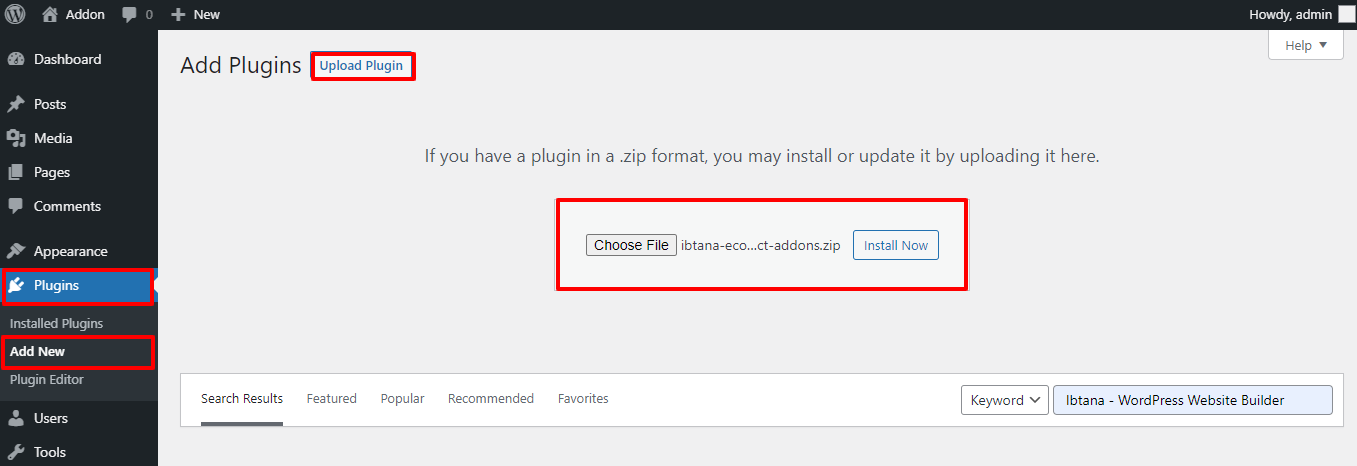
3. Click on Upload Plugin button.
4. Click on Browse Button then select your ibtana-visual-editor.zip theme and click on install now button.
Congratulations!! Your plugin have been successfully installed.
2-Install a Plugin using FTP
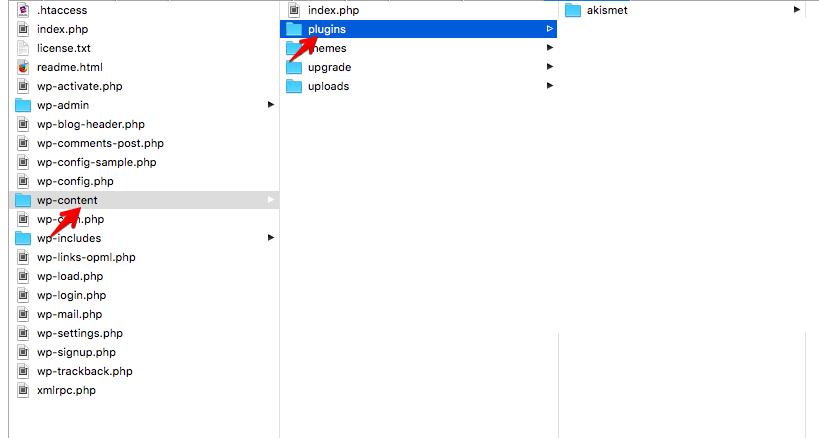
Your second installation option is to upload the plugin via FTP. For this method first log into your site via FTP and browse to your folder located at wp-content/plugins. Unzip the plugin file you downloaded and upload only the extracted Total folder to your server.
Next log into your WordPress site and navigate to Plugins to activate plugin.
Plugin Actication Process
Follow the below steps to activate plugin:-
2. Go to Dashboard >> Ibtana Setting >> License
Here add your registered email, order id and license key. As you will purchase the product, an email will be sent to you where you will get your license key.
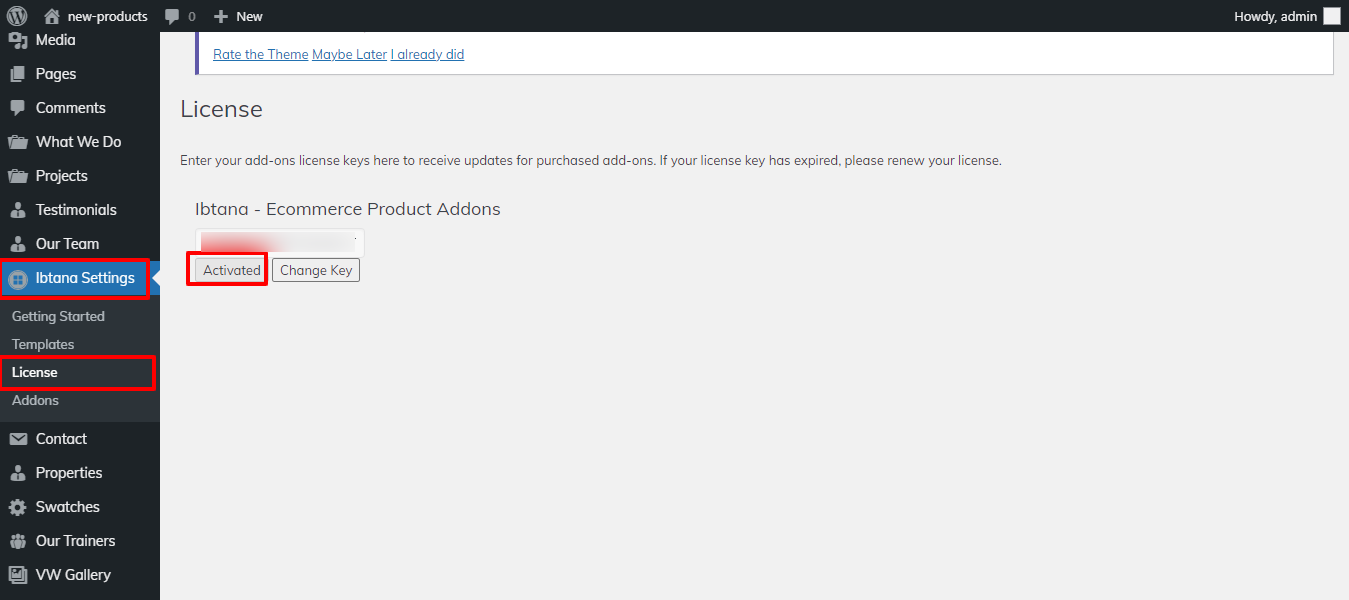
Once you have done that, to save the settings click on Acticate License and now you are good to go.
                            1. Add below given funtion to theme's funtion.php .
  function pro_setup() {
    add_theme_support( 'align-wide' );
  }
  add_action( 'after_setup_theme', 'pro_setup' );

                            2. Add below given css to theme's style.css .
  .alignfull {
    margin-left  : calc( -100vw / 2 + 100% / 2 );
    margin-right : calc( -100vw / 2 + 100% / 2 );
    max-width    : 100vw;
    width: 100vw;
  }
  .alignfull img {
    width: 100vw;
  }
Plugin Setup
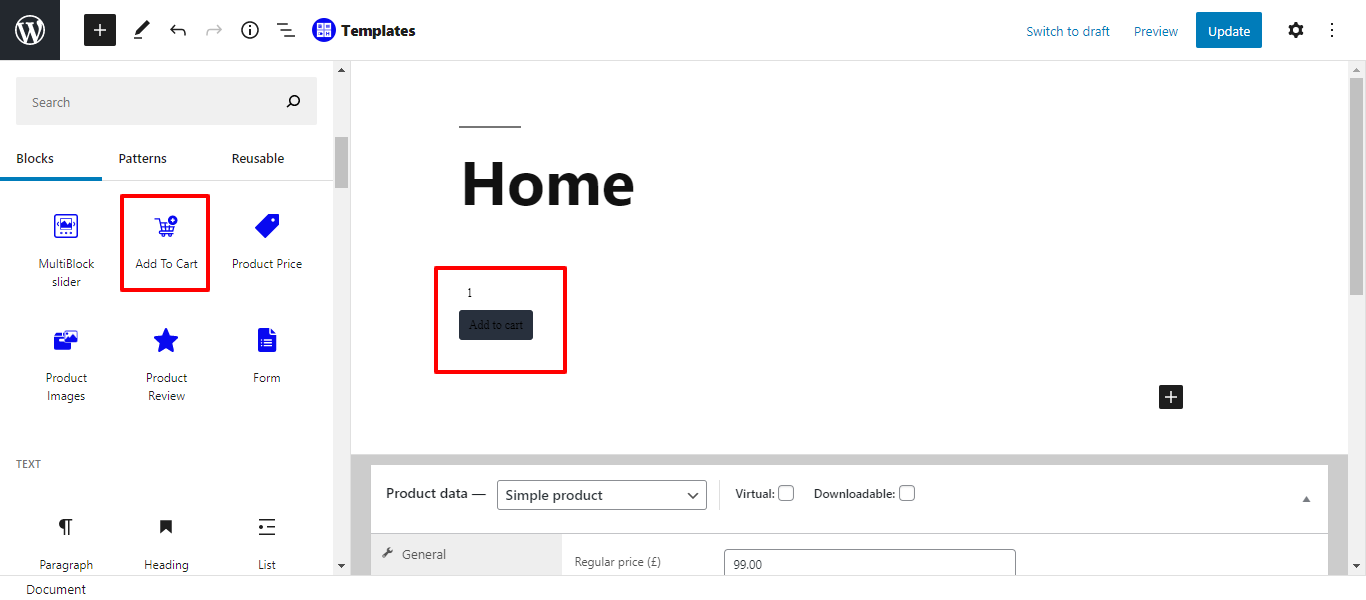
1. Add To Cart
In order to Add To Cart, follow the below steps.

Custom Add to Cart Button is a simple to customize your store’s add to cart buttons. It makes it easy to change the ‘Add to cart’ button text color,Quantity text color.
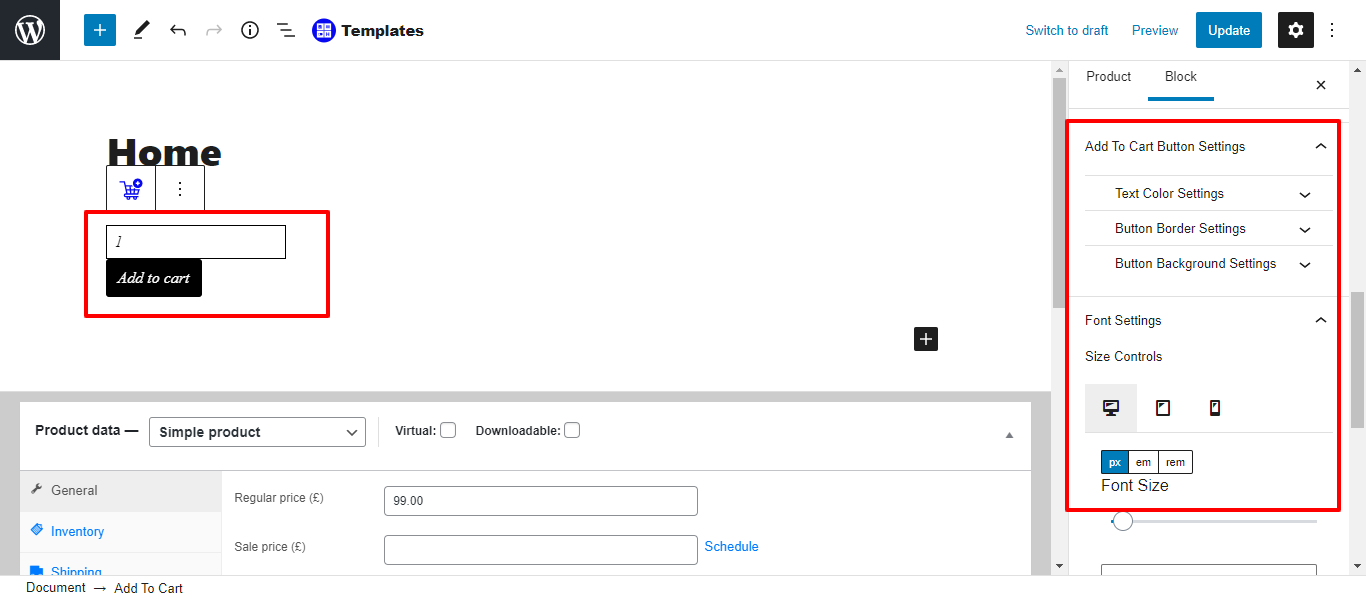
Check Below given screenshot for Quantity Settings. In which you will find border color,Quantity text color,Quantity background color.

Check Below given screenshot for Add To Cart button Settings. In which you will find button border setting,text color setting,button background setting,Font settings.
It will appear like this on the front end.

2. Product Images
In order to Product Images, follow the below steps.

The WooCommerce product image is the most necessary feature for your site. The more you can show your product details to your customers more you can get conversions. Product Image for Woocommerce allows you to magnify product images and set zooming features easily and quickly.

To setup a product image also add Image gallery,then add gallery image position setting.
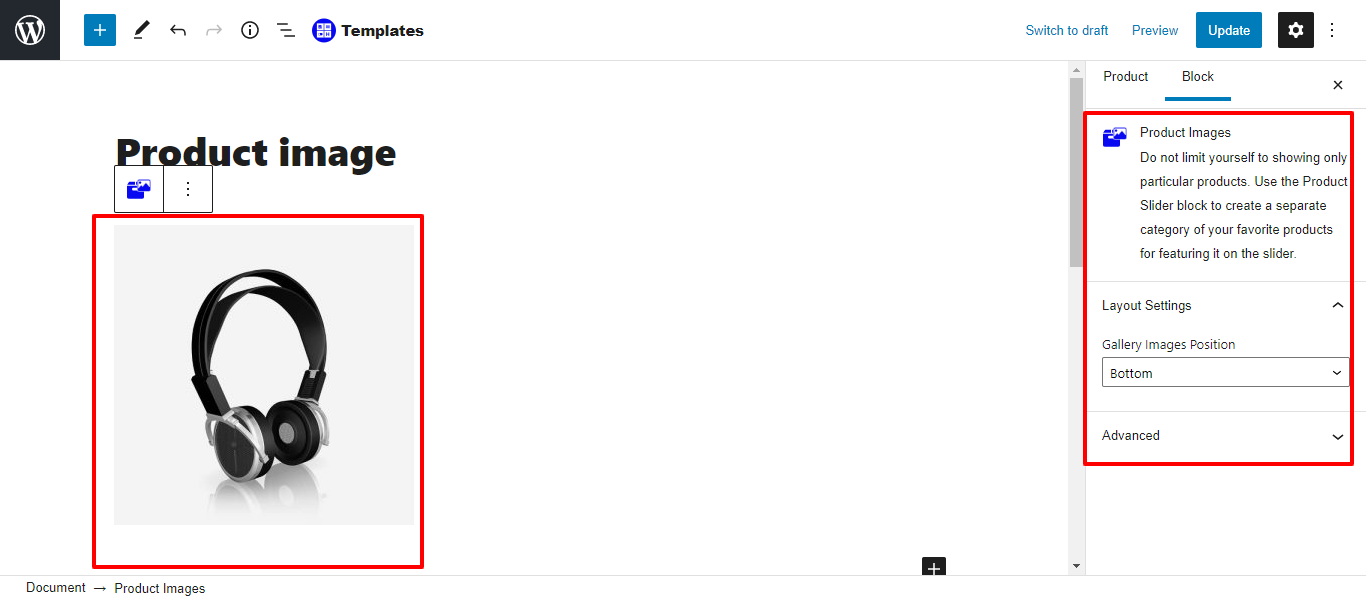
It will appear like this on the front end.

3. Product Price
In order to Product Price, follow the below steps.
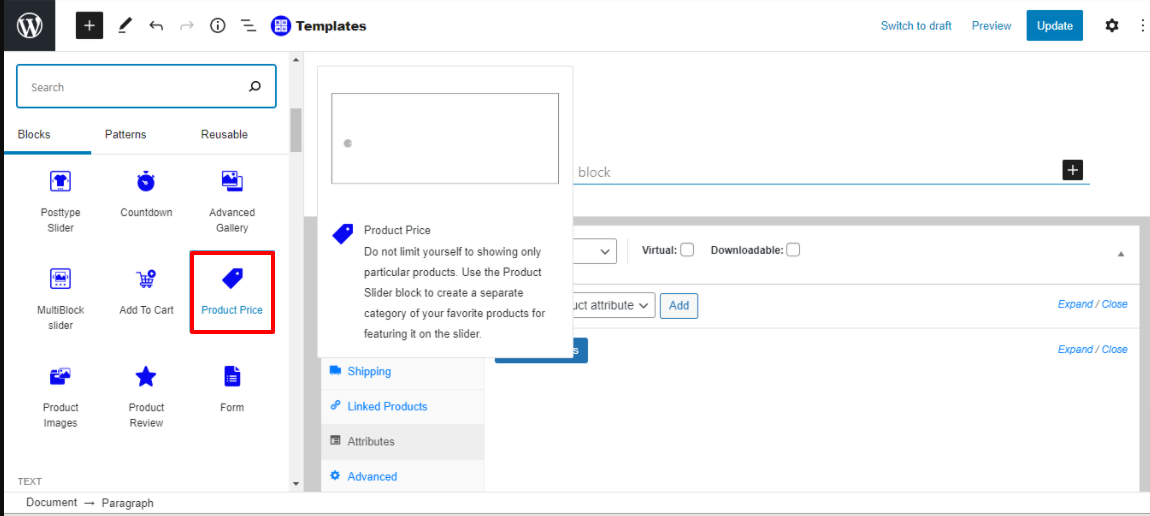
The plugin detects product price and display the currency and price.when you have defined during create product.price is the money that customers must pay for a product or service. In other words, price is an offer to sell for a certain amount of currency.

It will appear like this on the front end.

4. Product Rating
In order to Product Rating, follow the below steps.
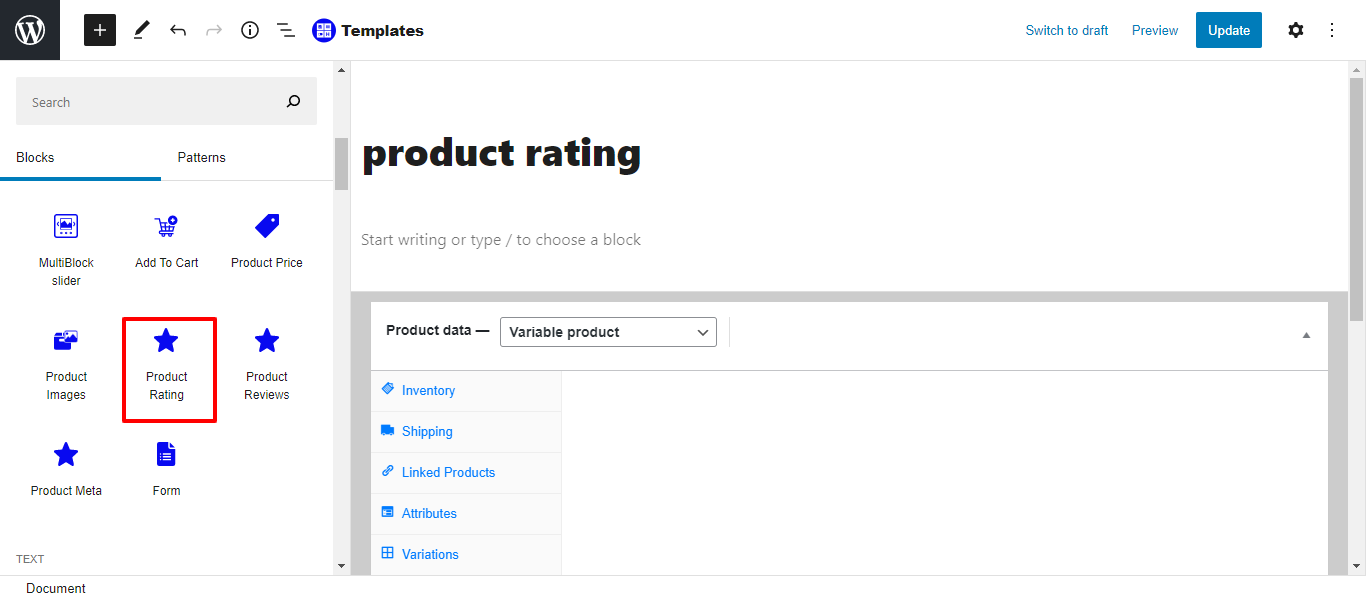
Product ratings help influence your customers' buyer behavior by showing them the right information at a pivotal time in their search, so they feel confident enough in your brand to click through to your site and follow through with their purchase.

It will appear like this on the front end.

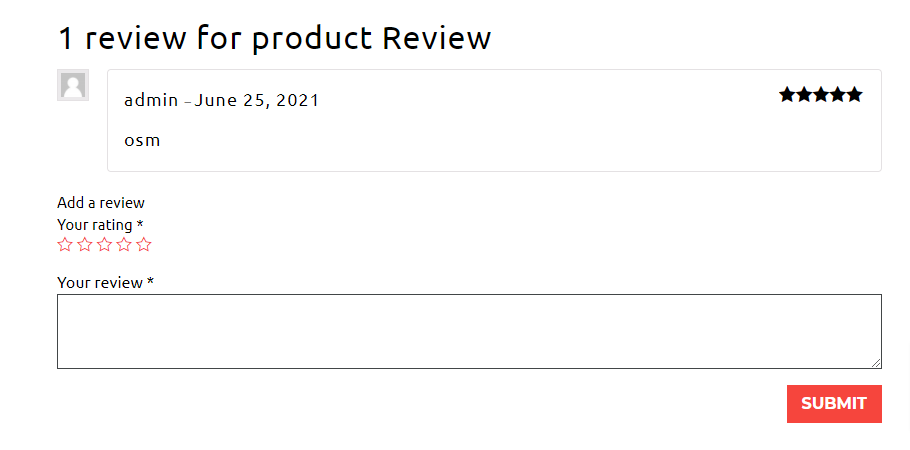
5.Product Review
To use Product Review, follow the below steps.

Product reviews allows you to add a customer review feature to your products. This provides a way for your customers to engage with you, as well as each other to encourage sales.
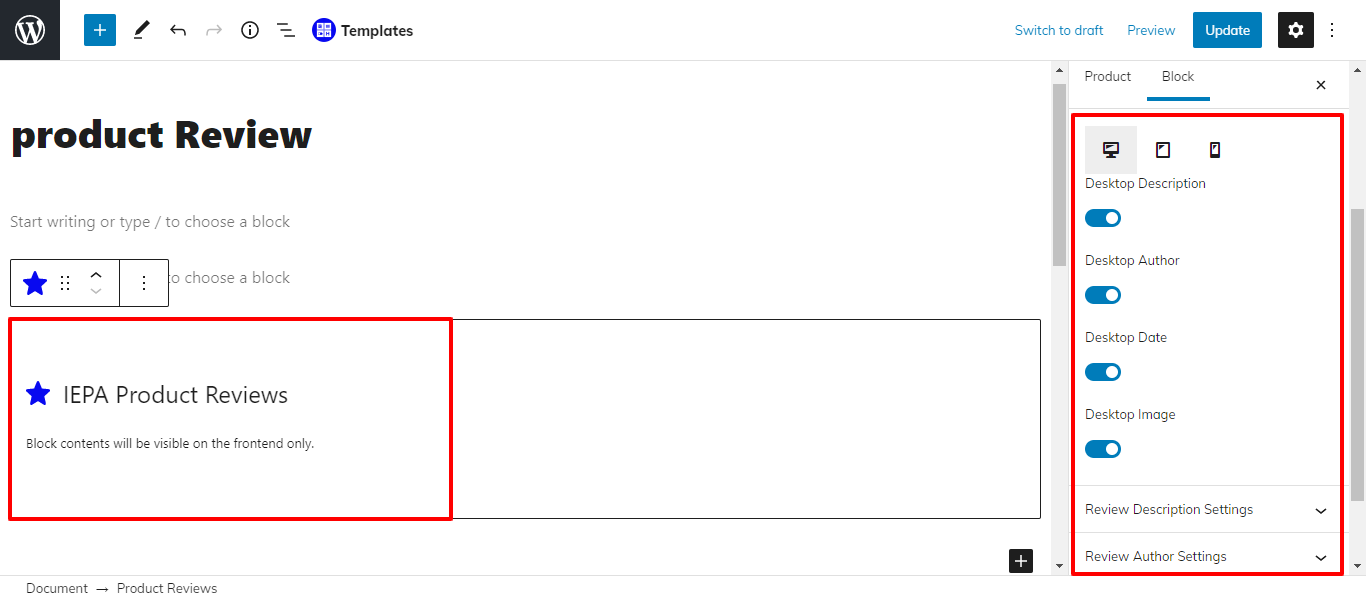
It will appear like this on the front end.
6. Product Meta
To use Product Meta, follow the below steps.

A meta description is meta tag that acts as a 155-160 characters summary that describes the content of a web page.
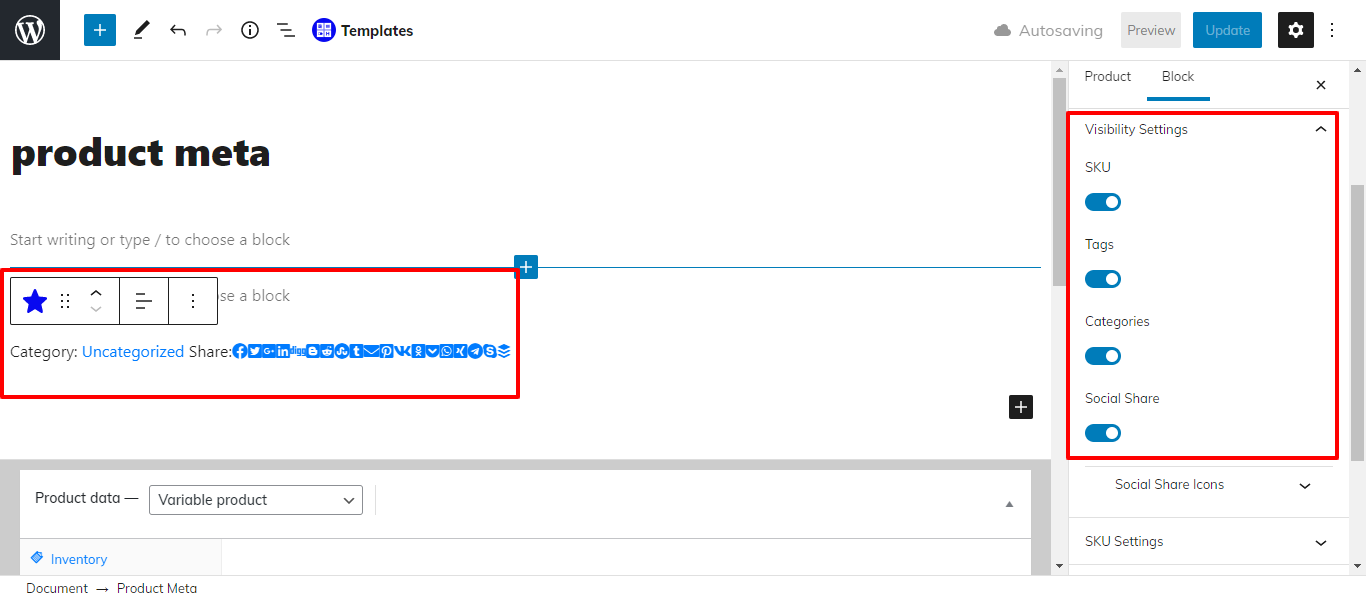
It will appear like this on the front end.